Displaying List Field Type Values in Email Scripts
When trying to display values from a List field in an email script you can’t simply display the field name from the form.
Here’s my specific work example:
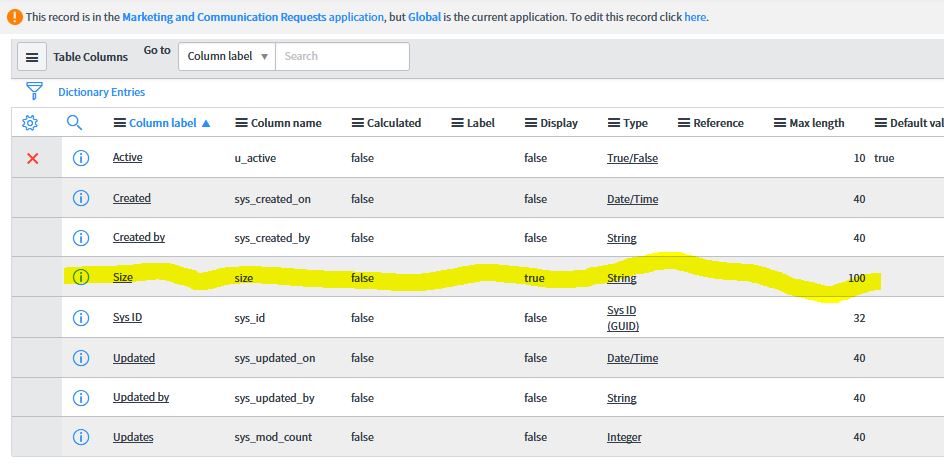
I created a List field type called “Sizes Needed” (u_sizes_needed) in a form used to submit a marketing request.
This List type field references a custom table that has a single custom field called size (see Figure 1).
I needed to display in an email to the Marketing department AND to the requester all the sizes the requester selected in the form. NOTE: that when you view a previously-submitted form, ServiceNow automatically converts this to a comma-separate text string. I expected this to happen when I was working in my email script, but what I got was a comma-separate string of sys_ids and not the associated values. So I needed to do a GlideRecord on this custom sizes table then cycle through the values I found to get their associated display name.
Here’s how I did it. I use a notification email script because I’m getting and displaying the values in two separate emails – one to the requester and one to the marketing team.
First here’s the wrong way:
If (current.u_sizes_needed !== “”) {
}
This produces something like this in the email:
Well that’s just not going to work for either the requester or marketing – so here’s how I got it to work.
- I do a GlideRecord query on the custom table
- I use the available “IN” javascript operator that comes with the GlideRecord object (https://docs.servicenow.com/bundle/istanbul-application-development/page/script/server-scripting/concept/c_UsingGlideRecordToQueryTables.html — scroll down to the Available JavaScript operators section).
- I cycle through all the selections that are found, then get the associated field value in that table that I want (I this case I wanted the ‘size’ field value from the custom table).
- I add each to an existing variable.
- I use the template.print() method to print the variable’s contents into the email body.
if (current.u_sizes_needed !== “”) {
var selected_sizes = new GlideRecord(‘x_goaz_marcom_marketing_communications_request_print_sizes’);
selected_sizes.addQuery(‘sys_id’, ‘IN’, current.u_sizes_needed);
selected_sizes.query();
while(selected_sizes.next() ) {
}
template.print(“<br /><br />Sizes Needed: ” + sizes_to_display);
}
So in the email that marketing and the requester receives, if they select size options, they are listed like this:
Sizes Needed:
— Diecut